A routing flow defines how communications to a particular service in Contact are handled by the system. Routing flows can be defined for:
- Calls
- Emails
- Webchats
Create a new routing flow #
- Navigate to the relevant flow editor:
- Call Handling → Call Flows
- Email → Email Flows
- Webchat → Webchat Flows
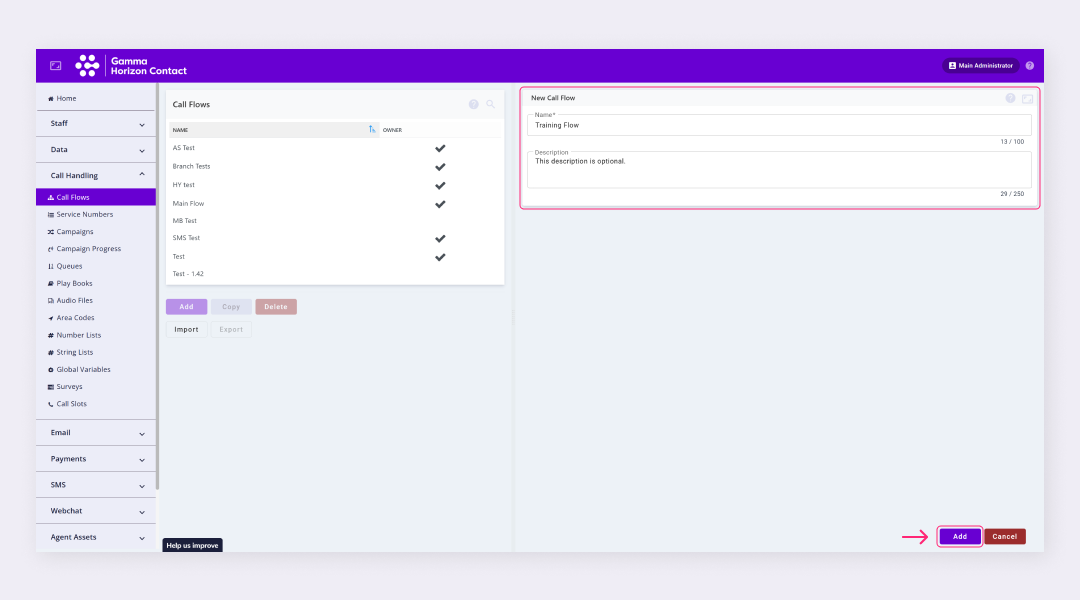
- Click Add and the new flow page is displayed
- (Mandatory) Enter the name of the new flow
- Enter a brief description if required
- Click Add
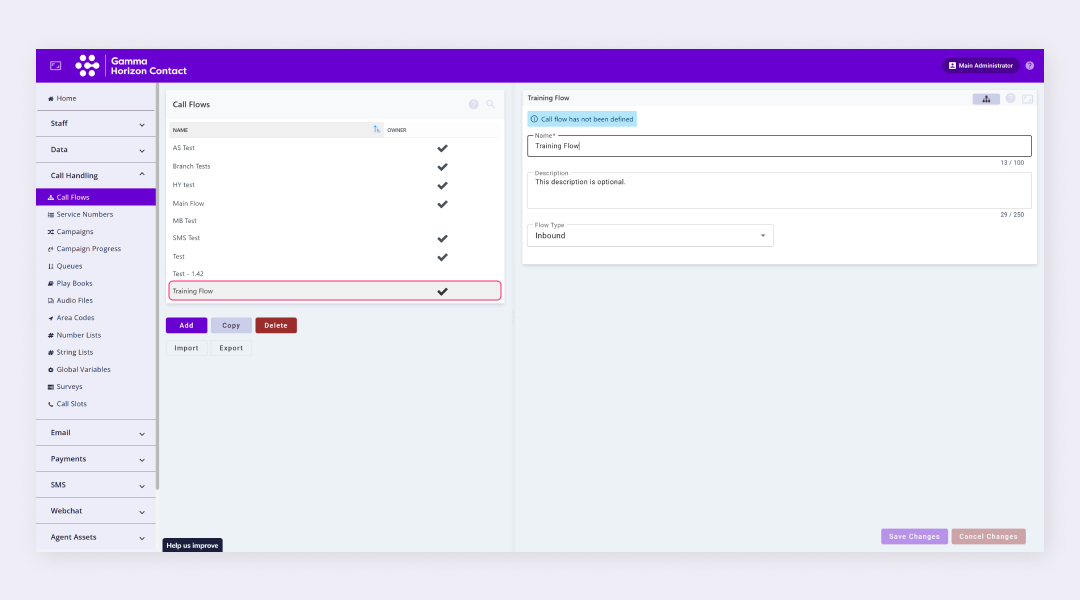
- The call flow will be created
At this stage, you will see a message saying the flow has not been defined. You will need to configure and publish the flow before it can be assigned to a service.
| Note: You will need to define any assets such as hold music or queues that you want to use within the flow before configuring the flow via the flow editor. |
Configure a routing flow #
See the below articles for help configuring a routing flow:
Publish a routing flow #
Once a routing flow has been configured it needs to be validated and published. The validation process generally takes place quickly and the results will be displayed in the Flow Editor’s Validation Result window.
A routing flow is deployed in Java ARchive (JAR) format. If validation succeeds, the routing flow is converted to a JAR file ready to be published.
- In the flow editor click the Validate and publish icon
- Review any errors and resolve if necessary
- Click Publish
- The flow will be published and ready to be assigned to a service
If there are any errors the validation will fail and you will need to resolve the errors before the routing flow can be published. A description of the error will be displayed in the Validation Result window.


