Company administrators can configure existing reports to be generated automatically at scheduled intervals. This can be completed in the Reports Configuration tab on Contact.
Click play to watch a video overview on scheduling pre-existing reports.
These scheduled reports must have already been created by a company administrator.
Note: The time range over which statistics are reported is fixed according to the settings configured when the report was created.
Company administrators must have the Reports: Modify privilege to schedule report generation.
Define a schedule for automatically generating a report: #
- Click Data > Reports Configuration on the menu bar and a list of existing reports is displayed.
- Select the relevant report in the list
- If you want to change the report’s name, enter the new name of the report (up to 100 characters)
- If you want to change the description of the report, enter the new description (up to 250 characters)
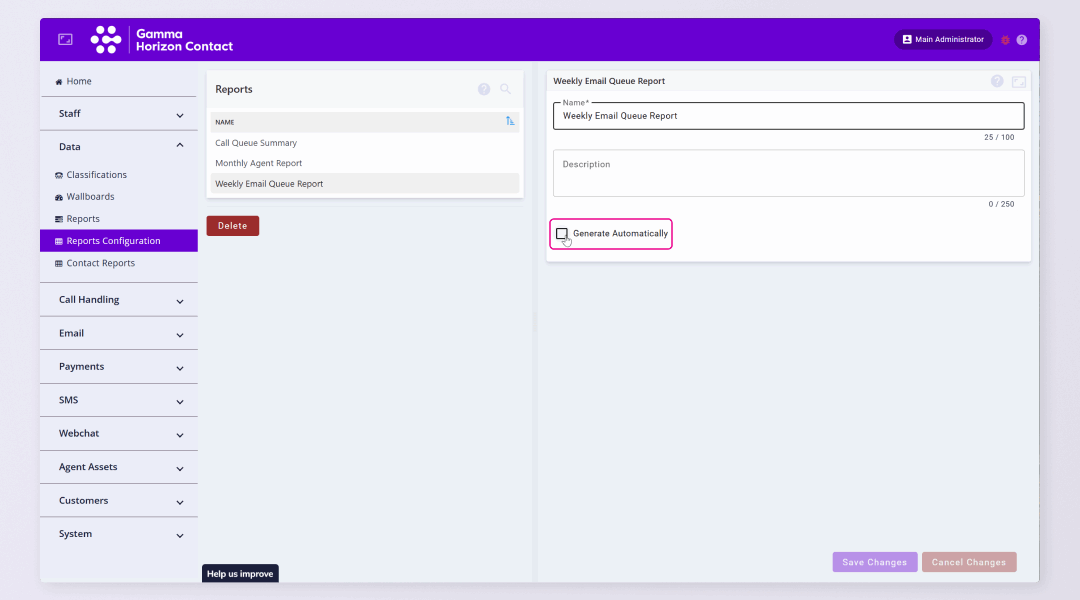
- To generate this report automatically, tick the Generate Automatically check box.
- For Start Date, specify the first date on which the report should be generated automatically by doing one of the following:
- Enter the date in the format DD/MM/YYYY
- Click in the field and select the date from a calendar.
- For Sending Time, specify (in hours and minutes) how regularly the report should be sent.
- For Generation Interval, specify how regularly the report should be generated.
- For File Name Format, specify the format of the report filename: <element>_<element>
- Where <element>_<element> are a list of (up to four) elements used to identify the report to a recipient when a scheduled report is automatically sent out as an email. See definitions below for more information.
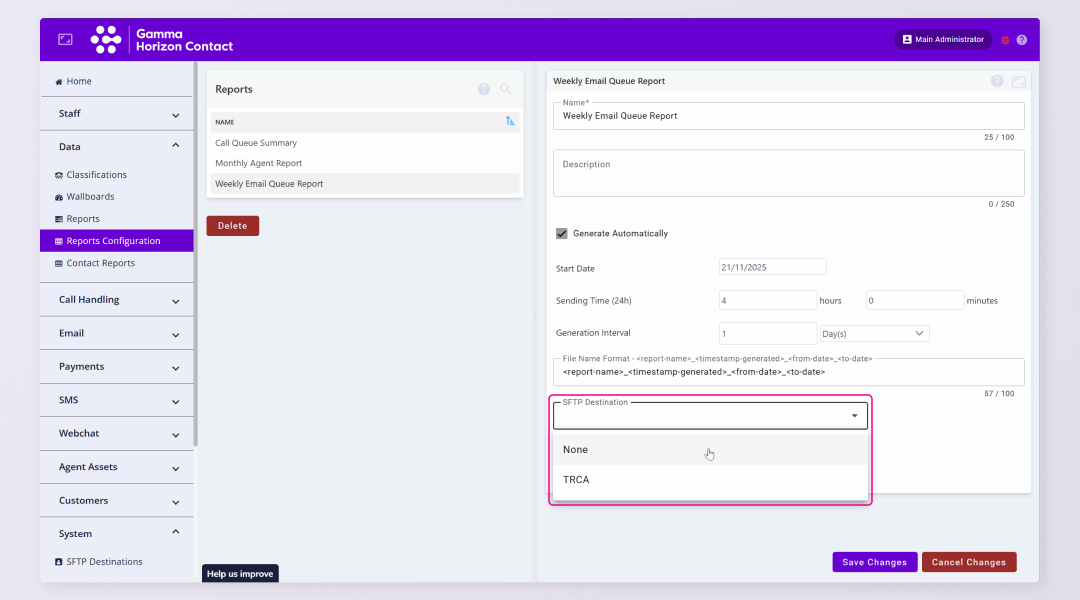
- To transfer auto-generated reports to an external platform via Secure FTP (SFTP), select the SFTP Destination from the dropdown list.
The SFTP destinations listed here are configured under System > SFTP Destinations on the menu bar. - To send auto-generated reports to an email address:
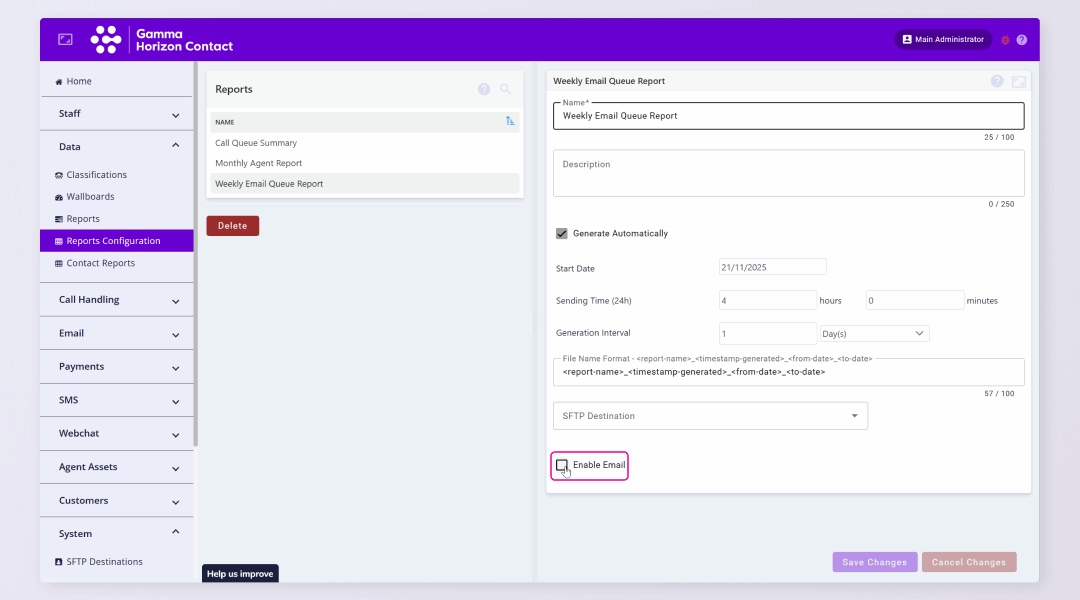
- Tick the Enable Email checkbox.
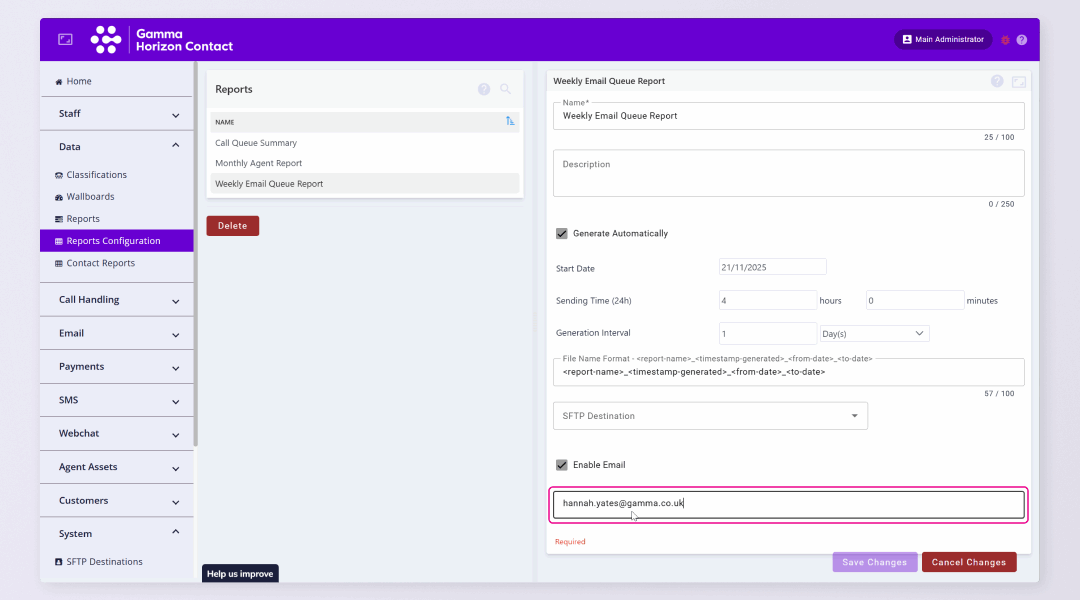
- (Mandatory.) Enter the Email Addresses to which auto-generated reports should be sent, in the format local-part@domain, for example, jsmith@example.com. Multiple email addresses can be added here.
- To delete an email address select the X icon.
- Click Save Changes
Remove a report #
- Click Data > Reports Configuration on the menu bar
- Select the appropriate report in the list
- Click Delete
- Click Yes to confirm
- The report will be deleted
Definitions: #
- Name: The name of the report.
- Description: A brief description of the report.
- Generate Automatically: Tick this to schedule a report to be generated automatically.
- Start Date: The first date on which the report should be generated automatically.
- Sending Time: The time of the day (in 24 hours) the report will be sent.
- Generation Interval: How regularly the report should be generated. This can be set to hourly, daily, weekly, monthly or quarterly.
- File Name Format: The format of the report filename: <element>_<element>
- where <element>_<element> are a list of (up to four) elements used to identify the report to a recipient, when a scheduled report is automatically sent out as an email. The following elements can be used:
- <report-name> – the title of the file
- <timestamp-generated> – the date and time when the report was generated, in the format YYYY-MM-DD_HH-MM-SS
- <from-date> – the start date that the generated report was filtered on, in the format: YYYY-MM-DD
- <to-date> – the end date that the generated report was filtered on, in the format: YYYY-MM-DD
- Each element must be enclosed in a < > angle bracket and be separated by an underscore. For example, <report name>_<timestamp-generated>
- The default format is: <report-name>_<timestamp-generated>_<from-date>_<to-date> which might generate a filename such as: Call_flow_report_2022-07-31_14-30-00_2022-06-11_2022-06-15.csv
- where <element>_<element> are a list of (up to four) elements used to identify the report to a recipient, when a scheduled report is automatically sent out as an email. The following elements can be used:
- Generated Reports: A list of the reports that have already been generated according to the schedule. The name of each report file is in the format: <date>-report.csv, for example, 2018-02-23-report.csv.
- SFTP Destination: The destination on an external platform to which auto-generated reports are transferred via Secure FTP (SFTP).
- Enable Email: Whether or not auto-generated reports will be sent to an email address.
- Email Addresses: The email address(es) to which auto-generated reports should be sent, in the format local-part@domain.
Note: For certain report subtypes (Calls Report/Scheduled Calls Report/Unreturned Missed Calls Report/Inbound Email Report/Outbound Email Recipent Report/Status Change Report/Activity Audit Report/SMS Recipient Report), the report data that can be included in each email attachment is limited to 10Mbytes. If the report size is greater than 10Mbytes, the report data in the attachment will be truncated and the recipient will be notified (via email) that the previous scheduled report did not contain the full data set as the file size was more than 10Mbytes. To receive the full report data, change the parameters for the report configuration (for example, the date range) to reduce the data size. |
Parent topic: Data management
Related tasks
Loading or creating a report
Searching a list