Step 7: Configure the DTMF Menu node
This procedure describes how to configure the parameters for the DTMF Menu node.
Procedure
Step 1:
Click the node name of the DTMF Menu node in the call flow. The Parameters pane for this node is displayed on the left side.
Step 2:
For Audio to play, click on the L symbol next to the parameter and then select User-configurable. This allows a company administrator with the Service Numbers:Modify privilege to specify a different audio file to be played to suit their own requirements. (The parameters are tied to the service numbers associated with them rather than the call flow.)
Step 3:
Click Edit.
The Edit Parameter Audio To Play dialog is displayed.
Step 4:
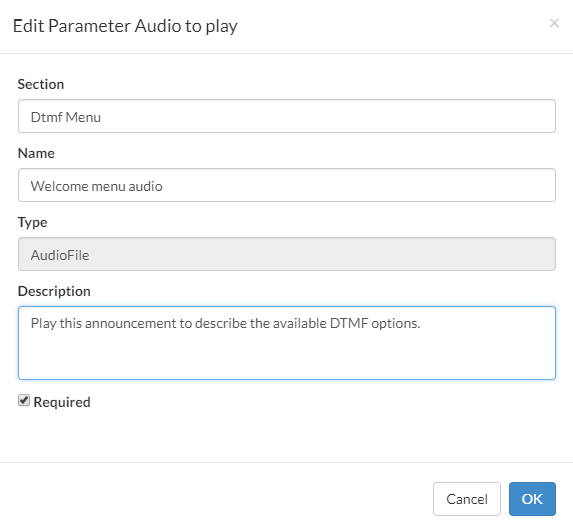
In the Edit Parameter Audio To Play dialog:
a. For Section, type in DTMF Menu. This will be the title of the section under which the user-configurable parameters for this call flow will be displayed to a company administrator.
b. For Name, type in Welcome Menu Audio.
c. For Description, type in Play this announcement to describe the available DTMF options.
d. Tick the Required check box.
e. Click OK.
Figure 1. The Edit Parameter Audio To Play dialog
Step 5:
Click OK.
Step 6:
Right-click the DTMF Menu node name in the call flow and select Add “Key pressed” branch.
Step 7:
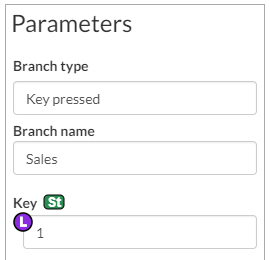
Configure the branch as follows:
a. Left-click the branch name in the node in the call flow. The Parameters pane for this branch is displayed on the left side
b. For Branch name, enter Sales.
c. For Key, enter 1.
The Parameters pane for the Sales branch will look as follows:
Figure 2. The Parameters pane for the Sales branch
Step 8:
Create another branch for the DTMF Menu node, but this time enter the branch name Billing and set the key to 2.The Parameters pane for the Billing branch will look as follows:
Figure 3. The Parameters pane for the Billing branch
